")
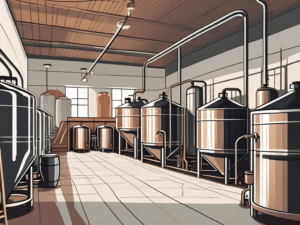
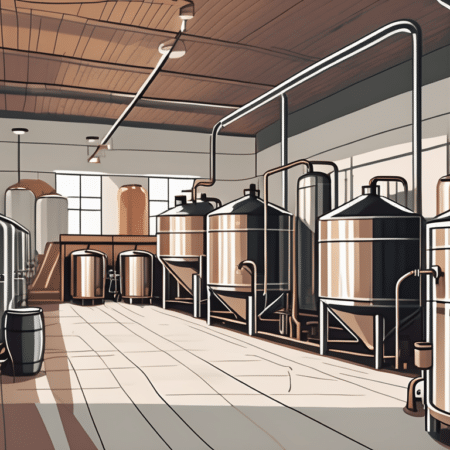
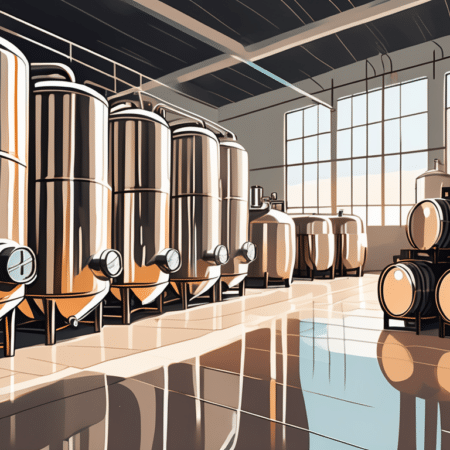
If you’re passionate about home brewing and want to take your craft to the next level, investing in epoxy flooring is a wise choice. Not only does it enhance the aesthetics of your brewery, but it also provides several practical benefits. In this ultimate guide, we will explore everything you need to know about epoxy flooring for home breweries.
Understanding the Basics of Epoxy Flooring
Epoxy flooring is a type of seamless, resinous flooring that is created by combining epoxy resin with a hardening agent. This chemical reaction forms a durable and high-performance surface that can withstand heavy foot traffic and chemical spills.
What is Epoxy Flooring?
Epoxy flooring is a popular choice for many industries, including commercial, industrial, and residential settings. Its versatility and durability make it an excellent option for a wide range of applications.
One of the key features of epoxy flooring is its resistance to chemicals and stains. This makes it ideal for environments where spills are common, such as home breweries. Whether you accidentally spill a batch of beer or a chemical cleaning solution, epoxy flooring can handle it without staining or damage.
Another benefit of epoxy flooring is its ease of cleaning. Unlike other flooring materials, epoxy floors are seamless, which means there are no grout lines or seams for dirt and bacteria to hide in. This makes cleaning a breeze, as you can simply mop or sweep the surface to keep it looking clean and fresh.
Benefits of Epoxy Flooring for Home Breweries
Epoxy flooring offers numerous advantages for home breweries. Firstly, its resistance to chemicals and stains is a major benefit in this environment. Brewing involves working with various ingredients and substances, some of which can be corrosive or leave stubborn stains. With epoxy flooring, you can have peace of mind knowing that your floor can withstand any spills or mishaps that may occur during the brewing process.
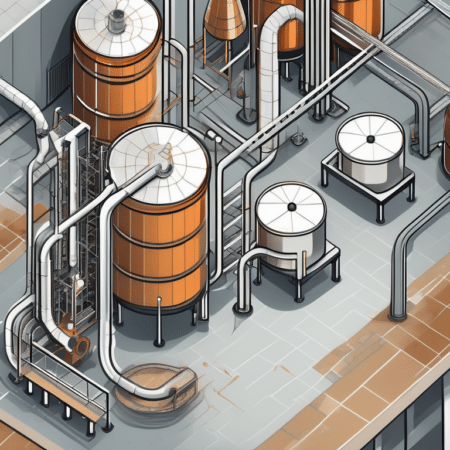
In addition to being chemical-resistant, epoxy flooring is also highly durable. Home breweries often have heavy equipment, such as brewing kettles and fermenters, which can put a lot of stress on the floor. Epoxy flooring is designed to handle heavy loads without cracking or peeling, ensuring that your brewing space remains safe and functional for years to come.
Furthermore, epoxy flooring is resistant to impact and abrasions. This is particularly important in a busy brewery where there may be constant movement of equipment and materials. With epoxy flooring, you don’t have to worry about scratches or dents caused by heavy objects being dropped or dragged across the floor.
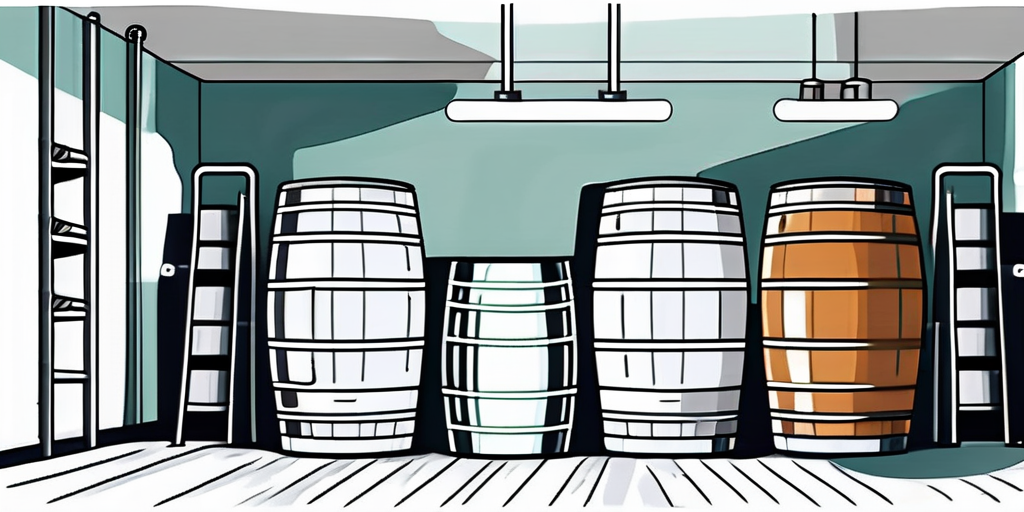
Hygiene is another crucial aspect of a home brewery. The seamless nature of epoxy flooring eliminates the growth of bacteria and mold, providing a clean and sanitary environment for brewing. This is especially important when working with yeast and other microorganisms that are essential to the brewing process. By choosing epoxy flooring, you can ensure that your beer is brewed in a hygienic and contamination-free space.
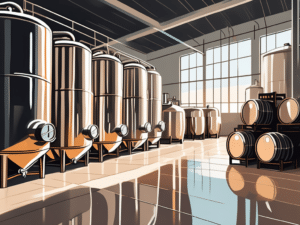
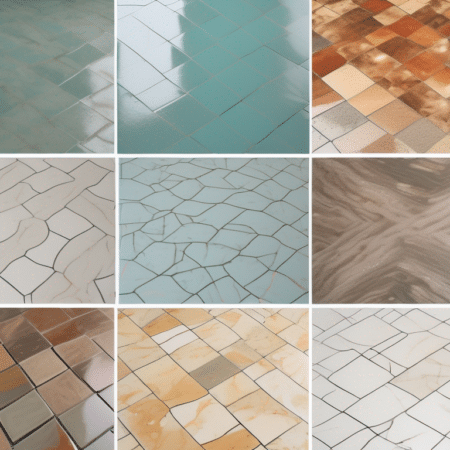
Lastly, epoxy floors offer a wide range of customization options. They are available in various colors and finishes, allowing you to create a unique and visually appealing brewing space. Whether you prefer a sleek and modern look or a more rustic and industrial vibe, epoxy flooring can be tailored to suit your style and preferences.
In conclusion, epoxy flooring is an excellent choice for home breweries due to its chemical resistance, durability, ease of cleaning, hygiene benefits, and customization options. By investing in epoxy flooring, you can create a functional and visually appealing brewing space that will stand the test of time.
Preparing Your Brewery for Epoxy Flooring Installation
When it comes to installing epoxy flooring in your brewery, proper preparation is key. Before you dive into the installation process, take the time to evaluate your current flooring. This step is crucial as it will help you identify any damages, cracks, or uneven surfaces that may need to be repaired before applying the epoxy.
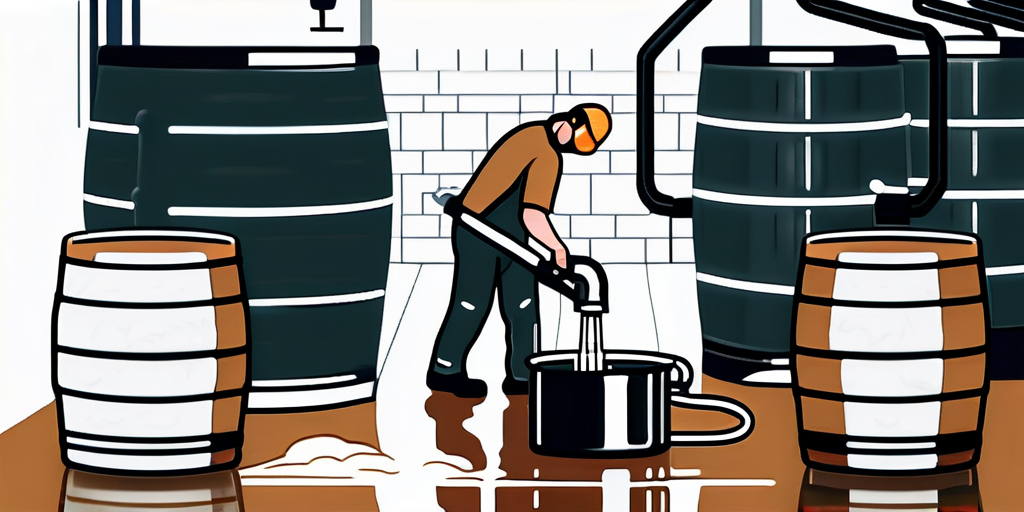
Once you have thoroughly assessed your flooring, it’s time to get it ready for the installation. Start by ensuring that the area is clean and free of any oils, dust, or debris. This will ensure a smooth and seamless application of the epoxy. You can use a vacuum cleaner or a broom to remove any loose particles.
However, cleaning alone is not enough. To achieve the best results, you need to create a rough texture on the existing floor. This can be done by grinding the surface. Grinding not only helps in removing any existing coatings or sealers but also creates a profile that allows the epoxy to adhere better.
Once the grinding is complete, it is recommended to apply a primer. The primer acts as a bonding agent between the existing floor and the epoxy. It enhances the adhesion and ensures a long-lasting finish. Make sure to choose a primer that is specifically designed for use with epoxy flooring.
While these pre-installation steps may seem straightforward, it is always a good idea to consult with a professional. They have the expertise and experience to guide you through the process and ensure that every step is done correctly. By seeking professional advice, you can avoid potential pitfalls and achieve the best possible outcome for your brewery’s flooring.
Evaluating Your Current Flooring
Before starting the installation process, it is crucial to evaluate your current flooring. Look for any damages, cracks, or uneven surfaces that may need to be repaired before applying epoxy. Additionally, ensure that the area is clean and free of any oils, dust, or debris.
Inspecting your current flooring is an important step in the preparation process. It allows you to identify any underlying issues that may affect the performance and durability of the epoxy flooring. By addressing these issues beforehand, you can ensure a smooth and successful installation.
Start by carefully examining the entire floor surface. Look for any signs of damage, such as cracks, chips, or pitting. These imperfections can compromise the adhesion of the epoxy and result in an uneven finish. If you come across any damages, it is essential to repair them before proceeding with the installation.
In addition to damages, it is important to check for any uneven surfaces. Unevenness can be caused by factors such as settling, moisture, or previous flooring installations. If you notice any uneven areas, they will need to be leveled before applying the epoxy. This can be done using self-leveling compounds or other appropriate methods.
Furthermore, ensure that the area is clean and free of any oils, dust, or debris. These contaminants can interfere with the bonding process and affect the overall quality of the epoxy flooring. Thoroughly sweep or vacuum the floor to remove any loose particles. If necessary, you can also use a degreaser to eliminate any oil or grease stains.
By taking the time to evaluate your current flooring and addressing any issues, you are setting the stage for a successful epoxy flooring installation. Remember, proper preparation is the key to achieving a durable, attractive, and long-lasting finish.
Necessary Pre-Installation Steps
Prior to installing epoxy flooring, it is essential to thoroughly prepare the surface. This includes grinding the existing floor to create a rough texture for better adhesion, as well as applying a primer to enhance bonding. It is recommended to consult with a professional to ensure proper preparation and installation.
Installing epoxy flooring requires careful planning and preparation. One of the crucial pre-installation steps is grinding the existing floor. This process involves using specialized equipment to remove any existing coatings, sealers, or imperfections on the surface. By grinding the floor, you create a rough texture that allows the epoxy to adhere better, resulting in a stronger bond.
Grinding is not a task that should be taken lightly. It requires the use of professional-grade equipment and expertise to ensure that the surface is properly prepared. Improper grinding can lead to unevenness or insufficient adhesion, compromising the overall quality of the epoxy flooring.
After the grinding process, it is highly recommended to apply a primer. The primer acts as a bonding agent between the existing floor and the epoxy, promoting better adhesion and durability. It also helps to seal the surface and prevent any moisture-related issues that may arise in the future.
Choosing the right primer is essential for a successful epoxy flooring installation. There are various types of primers available, each designed for specific applications. It is crucial to select a primer that is compatible with both the existing floor material and the epoxy coating you plan to use. Consulting with a professional will help you make an informed decision and ensure that the primer is applied correctly.
Overall, the pre-installation steps are critical to the success of your epoxy flooring project. By grinding the existing floor and applying a primer, you are creating an optimal surface for the epoxy to adhere to. Seeking professional guidance throughout the process will help you achieve the best results and ensure a seamless installation.
Choosing the Right Epoxy Flooring for Your Home Brewery
Factors to Consider When Choosing Epoxy Flooring
There are several factors to consider when selecting epoxy flooring for your home brewery. It’s important to assess the level of chemical resistance required, as well as the desired aesthetic and durability. Additionally, consider the budget and time frame for the installation process.
Popular Epoxy Flooring Options for Home Breweries
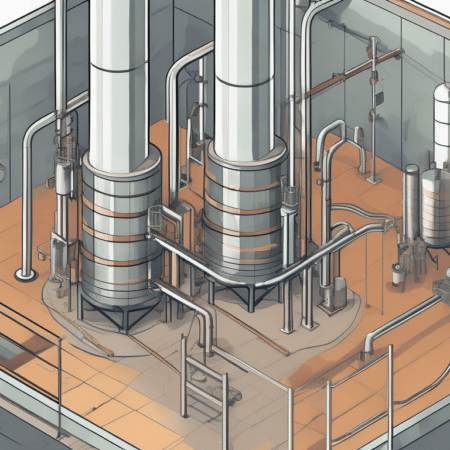
There are various epoxy flooring options available to suit the specific needs of your home brewery. Solvent-based epoxy coatings offer excellent chemical resistance and durability. Water-based epoxies, on the other hand, provide a more environmentally friendly option. Additionally, there are epoxy coatings specifically designed for high-temperature environments, ensuring the longevity of your brewery floor.
The Installation Process of Epoxy Flooring
DIY vs. Professional Installation
When it comes to installing epoxy flooring, you have the option to do it yourself or hire professionals. While DIY installation may save money, it requires careful preparation, attention to detail, and experience working with epoxy. Professional installation ensures a high-quality finish and saves you time and effort.
Step-by-Step Guide to Epoxy Flooring Installation
- Clean and prep the surface by removing any dirt, grease, or previous coatings.
- Repair any damages or cracks in the floor.
- Grind the surface to create a rough texture for better adhesion.
- Apply a primer to enhance bonding.
- Mix the epoxy resin and hardener according to the manufacturer’s instructions.
- Apply the epoxy coating in thin, even layers, using a roller or squeegee.
- Allow the epoxy to cure for the recommended time.
- Apply a topcoat for additional protection and to achieve the desired finish.
Maintaining Your Epoxy Flooring
Cleaning and Care Tips for Epoxy Flooring
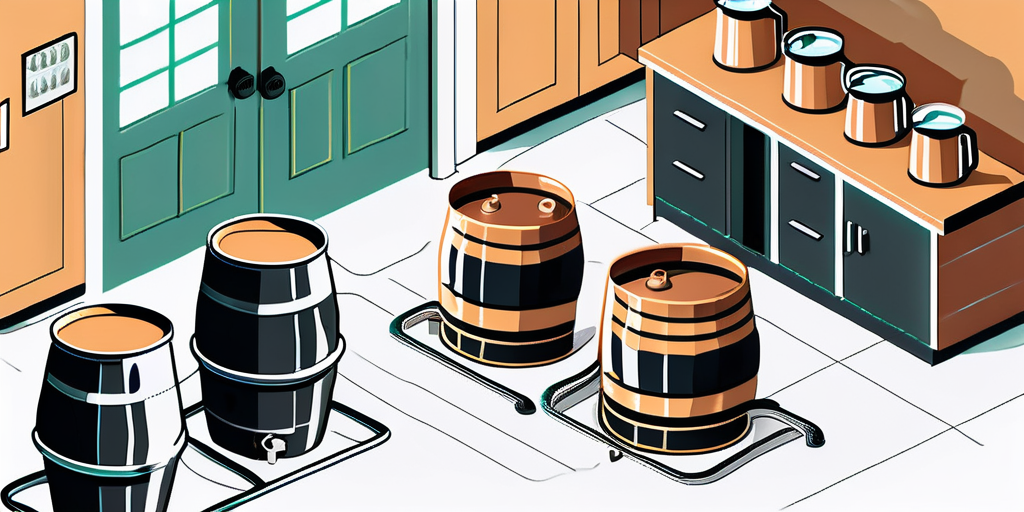
To ensure the longevity of your epoxy flooring, it is essential to follow proper cleaning and care practices. Regularly sweep or vacuum the floor to remove dirt and debris. Use a mild, non-abrasive cleaner for general cleaning. Avoid using harsh chemicals or abrasive materials that can damage the surface. Additionally, promptly clean up any spills to prevent staining.
Long-Term Maintenance Strategies
In the long term, periodic resealing and maintenance may be necessary to preserve the quality of your epoxy flooring. Consult with the manufacturer or a professional for guidance on maintenance schedules and recommended products for resealing.
By understanding the basics, preparing the space, choosing the right epoxy, following proper installation procedures, and implementing regular maintenance, you can enjoy the benefits of epoxy flooring in your home brewery for years to come. Cheers to a stylish and functional brewing space!